http://flying-geek.blogspot.tw/2016/05/getting-os-x-1011-el-capitan-printing.html
Solution:
$ foomatic-rip --version
foomatic rip version 4.0.6.230
"man foomatic-rip" for help.
$ gs -v
GPL Ghostscript 9.19 (2016-03-23)
Copyright (C) 2016 Artifex Software, Inc. All rights reserved.
$ cupsctl WebInterface=yes
- Browse to http://localhost:631
- Under “CUPS for Administrators” click “Adding Printers and Classes”
- Under “Printers” click the button [Add Printer]
- If prompted for a username and password, login as a user with administrative privileges on the Mac (e.g., "bob" / "password4bob")
- In my case, I selected “LPD/LPR Host or Printer” and clicked the button [Continue]
- In my case, the printer is on IP address 192.168.1.41, and I used the ‘default’ (lp) queue: lpd://192.168.1.41/lp
- I gave the printer a legal name (“Ricoh_MP_C2503_pxlmono”)
- I configured it as a Make: “Generic” and Model: “Generic PCL 6/PCL XL Printer Foomatic/pxlcolor (en)” printer.
- On the Defaults screen, I changed Printout Mode to “Normal”
- Run Matt Broughton’s excellent yosemite_foomatic_paths.command (available: https://gist.github.com/coffeesam/578d7b6beef0fbda975a or http://tinyurl.com/oepe5go [yosemite_foomatic_paths.command.zip]), which will come up in a Terminal.app window (if prompted for a password, if you’re an administrator, punch in your own password, e.g., password4bob):
The printer queue Ricoh_MP_C2503_pxlmono should be modified.
Do you want to continue? (y,n) y
- In Terminal.app, sudo to ‘root’ and append a line to the /etc/cups/cups-files.conf file, then stop and restart CUPS (same password as above):
$ sudo -i
# echo "Sandboxing Relaxed" >> /etc/cups/cups-files.conf
# launchctl stop org.cups.cupsd
# launchctl start org.cups.cupsd
Voila, you’ll now have color
PCL printing to the Ricoh (or whatever PCL printer you have that needs pxlmono + foomatic-rip + ghostscript to work under OS X)...
Update: With the paper size set to 'letter' I was getting complaints from Word, etc., that my margins were bad, and sure enough, when I printed from my standard templates the bottom 1/2" or so was cut off. Setting the paper size to "Custom" 8.5"x11" instead of Letter appears to have solved that problem:
Update to the Update: I was still having margin issues, and Word wasn’t letting me set the non-printable area greater than .5" from the top/bottom, .25" from the sides. I did some PostScript math (72 points = 1", my templates assume .17" non-printable margins) and came up with 12 12 600 780 as the printable boundaries that should work. I then looked at the PPD for the Ricoh Aficio 3510sf I have at my home office, and lo and behold, the dimensions were identical...
Here’s my fixed, working “Letter” page definition / imageable area PPD, which should live at
/etc/cups/ppd/Ricoh_MP_C2503_pxlmono.ppd
$ cd /etc/cups/ppd
$ sudo vi Ricoh_MP_C2503_pxlmono.ppd
*DefaultImageableArea: Custom.8.5x11in
*ImageableArea Letter/US Letter: "12 12 600 780"
(The PPD specified, before it was edited: *ImageableArea Letter/US Letter: "18 36 594 756")
Now, all my (admittedly pretty
annoyingly technical) templates print properly again, with no footers cut off.
macOS Sierra Update
I did an upgrade-in-place to Sierra and the Ricoh stopped working. It seemed to send prints out, but the printer never received them or spat them out. Followed
Apple's simple process to reset the printing system (which, annoyingly, nuked all the printers I'd installed) and more or less followed the above steps to reinstall it. Didn't have to reinstall foomatic or ghostscript.
Did have to re-enable the cupsctl WebInterface, and walk through the steps to re-add the printer. This time, instead of a generic PCL printer, I set it up as a Ricoh MP C2500 PXL (which I believe is PCL XL, and not the "PS" version, which I'm pretty sure is PostScript, which my printer doesn't have). Set up this way, I didn't have to modify the .ppd file at all, it was already setup with the 12 12 600 780 printable area. Everything's working again, in color.
https://bbs.archlinux.org/viewtopic.php?id=121767
set up color to gray mode
Use:
to list printer specific settings
then
lpoptions -o option=value
to set it.
On my HP printer, I had this particular option:
ColorModel/Color Mode: *FromPrintoutMode Color Grayscale
So I set
lpoptions -o ColorModel=Grayscale
ColorModel/Color Mode: *FromPrintoutMode Color *Grayscale
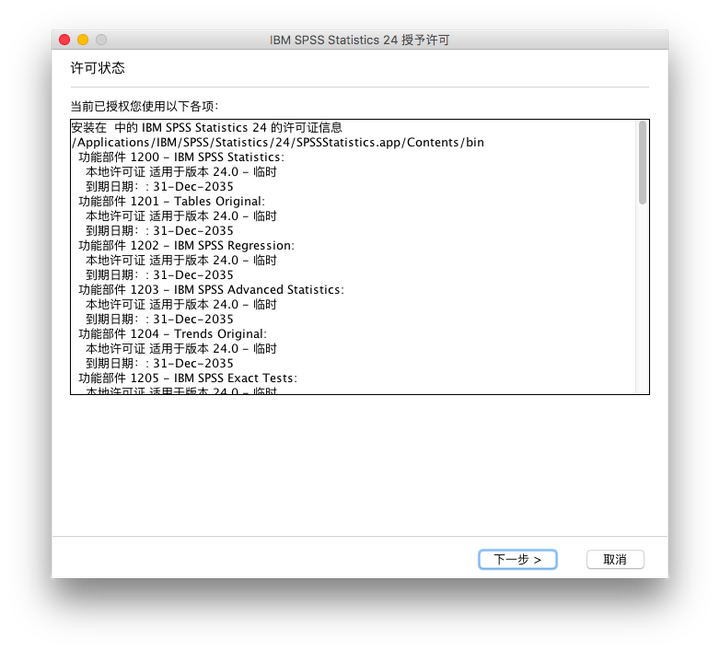
 注意显示的内容是:“安装在 xx 中的 IBM SPSS Statistics 24 的许可证信息/Applications/IBM/SPSS/Statistics/24/SPSSStatistics.app/Contents/bin”


